Heads up: This post contains some affiliate amazon links! All other links are not affiliate. That means if you click and buy, I may earn a small commission at no extra cost to you. Every item I’ve linked is either something I personally own and love or a great budget-friendly alternative from a brand I trust.
So, you’ve caught the sewing bug but have no idea where to begin? Don’t worry, I’ve been there. Let me help point you in the right direction. You can totally start with the budget versions of everything I mention — there’s no need to go all-in from the start. Upgrade as you go based on your preferences (for example, if your iron leaks or you absolutely hate using it… that’s your sign to upgrade!).
Whether you’re dreaming of making a cozy quilt like the one you saw in an antique shop, creating handmade clothes for yourself or your kids, creating a hobby to pass down through generations, make heirloom items, or whipping up cute banners and decor — the list of possibilities is endless. No matter what your sewing goals are, here are a few must-haves and tips to get you going.
1. Set up a dedicated sewing space
This doesn’t have to be fancy. A closet, a desk in the corner, a rolling cart, or even just a pegboard on the wall works. The key is having a space that feels yours. The more organized and functional it is, the more enjoyable sewing will be. I keep everything in its designated place, so when I reach for something, I’m not playing hide-and-seek.
My favorite rolling cart that I still use, its super wide and will fit most machines and what you need for a good starter space for sewing!

Heres a more compact rolling cart if you’re stressed for space.
Pegboard (My SIL set up below)

If you need a table you can pack up and stow away with your cart any foldable table will do from sams or Walmart or Costco, wherever. They are much cheaper in store than online. You can also just use your dining room table like I do.
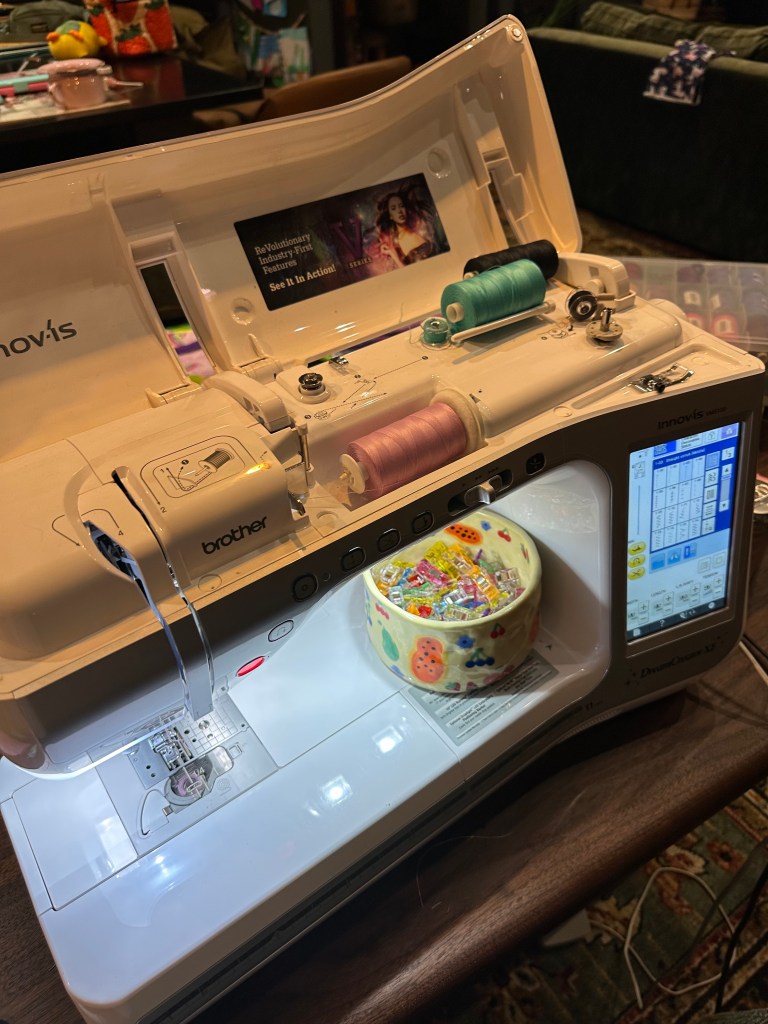
2. Get yourself a sewing machine
Unless you’re planning to hand sew everything (which — respect), a machine is the way to go. There’s so much to talk about here that it could be its own post. So if you’re not sure what to get or how to use yours, drop a comment or DM me on Instagram — I love helping people get started! You don’t need anything fancy to get started, a simple machine like a few I linked below work great!
$120ish Brother Sewing Machine
$150ish Singer I love the all black
Machine I have and love. I get it serviced yearly and it’s been treating me well for 10 years
I couldn’t find it new because it was only sold from 2014-2019
Here’s the newer version of my machine
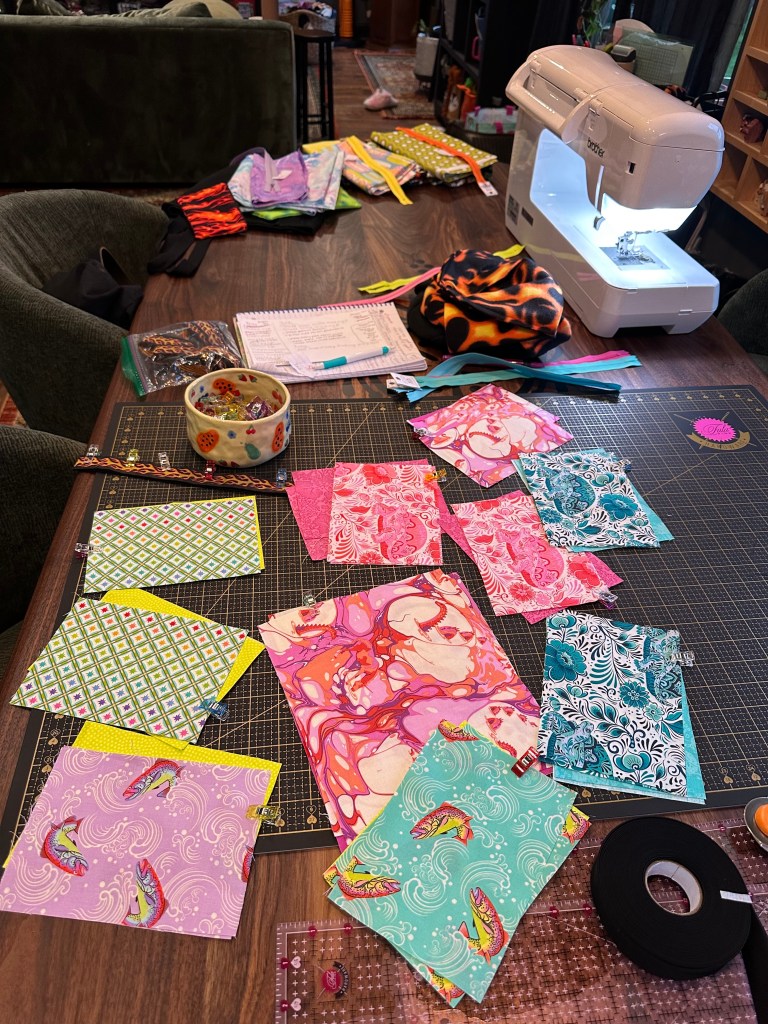
3. A self-healing cutting mat
I do 95% of my cutting on one. It protects your surfaces and helps you get cleaner, straighter cuts.
Tula Pink cutting Mat Black and Baby Pink double-sided: This 2x3ft mat is hands-down my fave—peep her below! It’s reversible (baby pink on one side, black on the other, both with gold accents) so it lasts twice as long. And the price? Best I’ve found. Everywhere else has it for $100+ for this size!

4. A good iron + ironing surface
Don’t skip this. You need to press seams and remove fabric creases to get clean cuts. A steam iron that doesn’t leak is key. If space is tight, go with a foldable ironing board. Got more table space? A wool mat or foldable surface you can stash easily is perfect.
Cordless iron of your dreams. I have this, and it’s been a total game changer—not being tethered to a cord makes all the difference. It’s also super simple to fill with water and hasn’t leaked once on any of my fabrics.
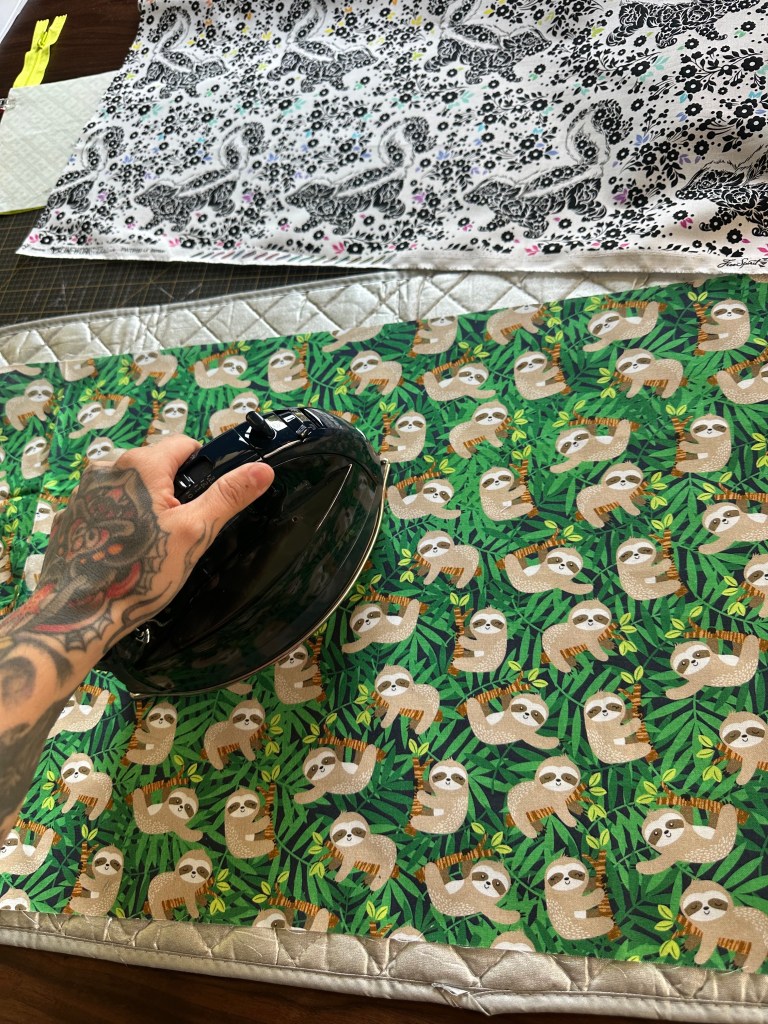
5. Rotary cutter + scissors
A rotary cutter is going to be your best friend. Scissors are still a must though — just don’t use your fabric scissors on paper (ever). I use different colored handles so I know which are which. Make sure everyone in the house knows not to touch your “fancy” scissors, I can’t tell you how many times someone has grabbed my scissors to use them casually to receive my death glare.

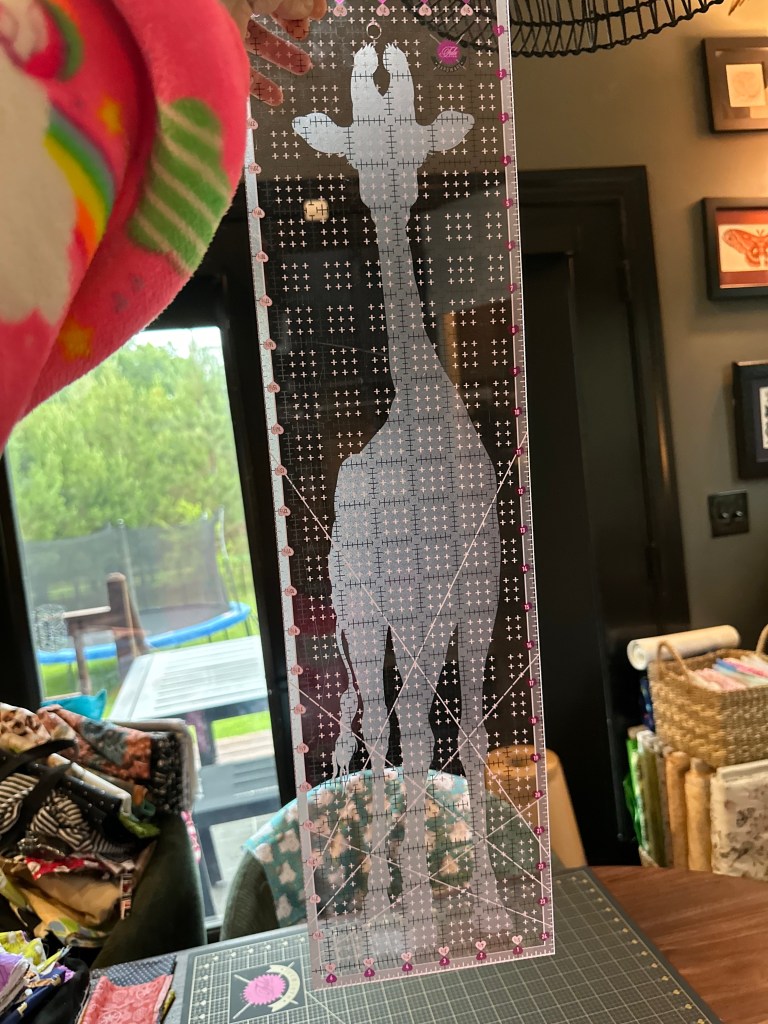
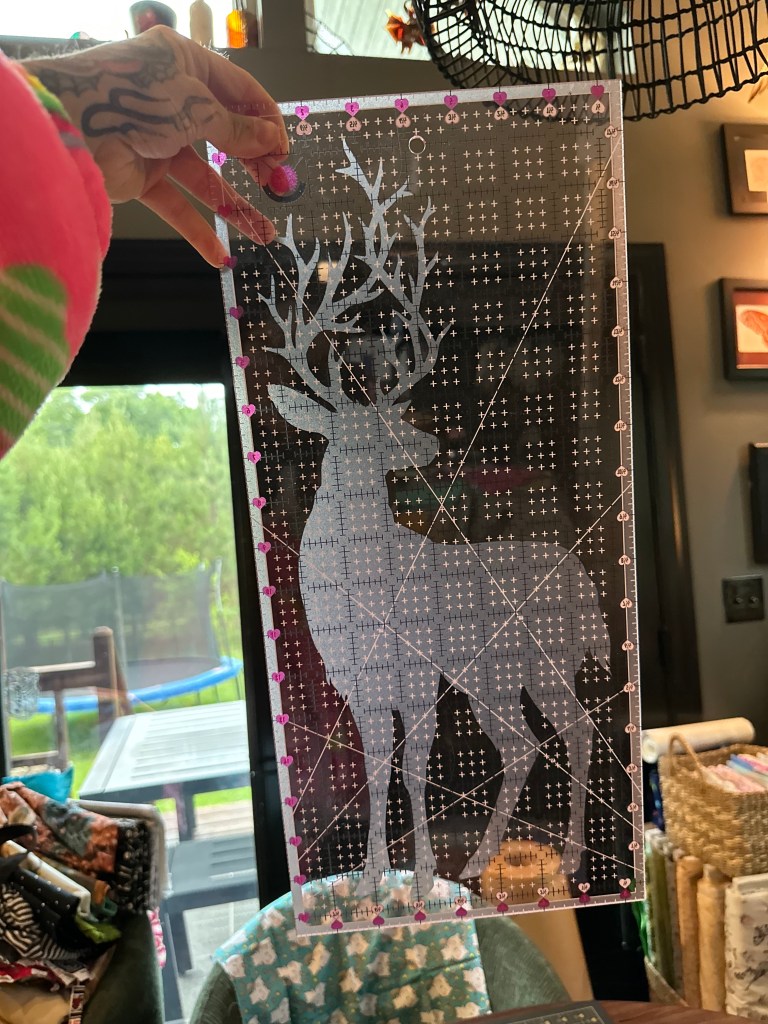
6. Rulers! Start with a big one
A squaring ruler is what you’ll use constantly, especially paired with your mat and rotary cutter. Accuracy is everything in sewing, the straighter and more precise your cuts, the smoother your projects will come together. Start with one large ruler, and you’ll probably end up with a few different sizes like me.
Less cost effective rulers but my favorite brand is Tula Pink Hardware and the quality is *chefs kiss*
Tula Pink 4.5in x 12.5in Non Slip Rabbit Ruler
Tula Pink 2.5in x 6.5in Non Slip Mouse Ruler
Tula Pink Square Unicorn Template Non Slip 8in x 8in
Ruler storage! You can also just hand your rulers on the wall or on your pegboard but I have over 10 rulers now and I don’t like them hanging in front of each other so I use this storage feature to keep my easy to grab and sorted.

7. Patterns: printed, traced, or projected
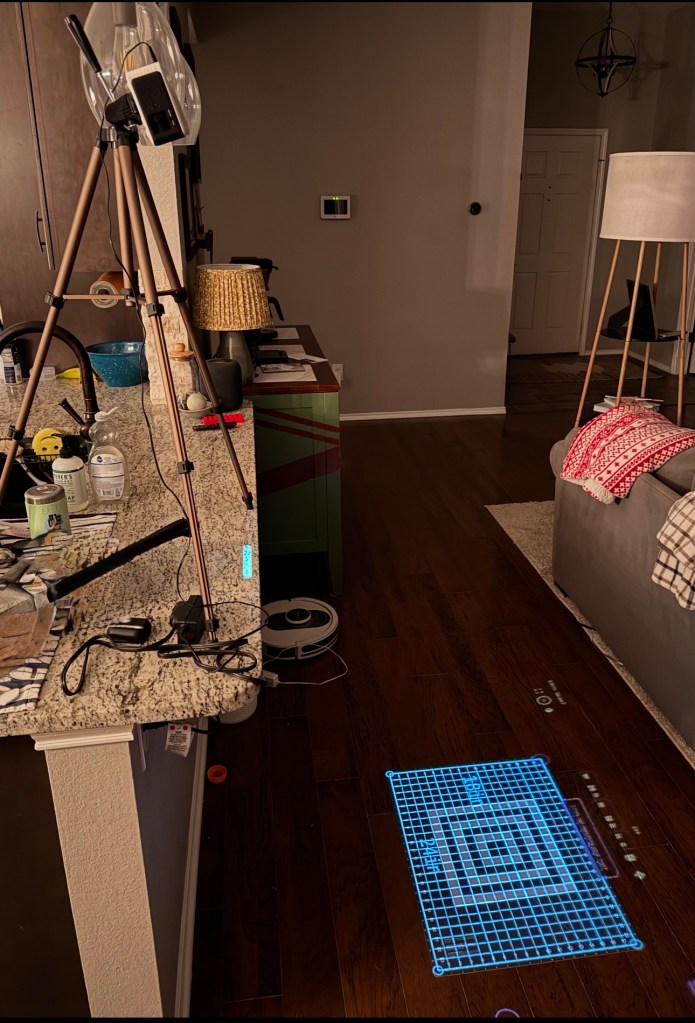
Making clothes or curved-pattern projects? You’ll want either a short throw projector (when you’re more serious) or a regular projector you can rig up or just good old tracing paper and pins. E-patterns are super popular now — quick to buy, download, and print. Try cutting your traced patterns with a rotary cutter once you’re comfy using it!
You can still find in-person printed patterns — the kind that are already traced out and ready to pin and cut. They’re super convenient because there’s no printing, taping, or tracing required. But honestly? The selection can be kind of overwhelming. There are so many options and not all of them match your vibe or skill level. That’s one reason I love supporting small sewing pattern businesses — they often offer unique and modern designs that you won’t find in big box stores. A lot of them are digital only, though, which means printing or tracing is part of the deal. Still totally worth it in my opinion! I’ll cover some of my favorite patterns in a future post.
Projector I have (I got mine used on EBay for much Cheaper)
More cost-efficient projector my SIL has and recommends but get a tall tripod with it.
Regardless of what projector you get make sure you use the free software patternprojector.com. If you get used to projecting patterns and buy a pattern without a projection download PDF Stitcher to combine your pages into a projectable file. See this tutorial for how to.
It’s super user friendly and it walks you through what you need to do.
A picture of my SIL set up with her tripod and mini projector and a picture of me rigging up my previous projector I had for movies until I purchased my new(to me) projector that sits on the table. Essentially, no matter the projector, you can find a way to make it work.


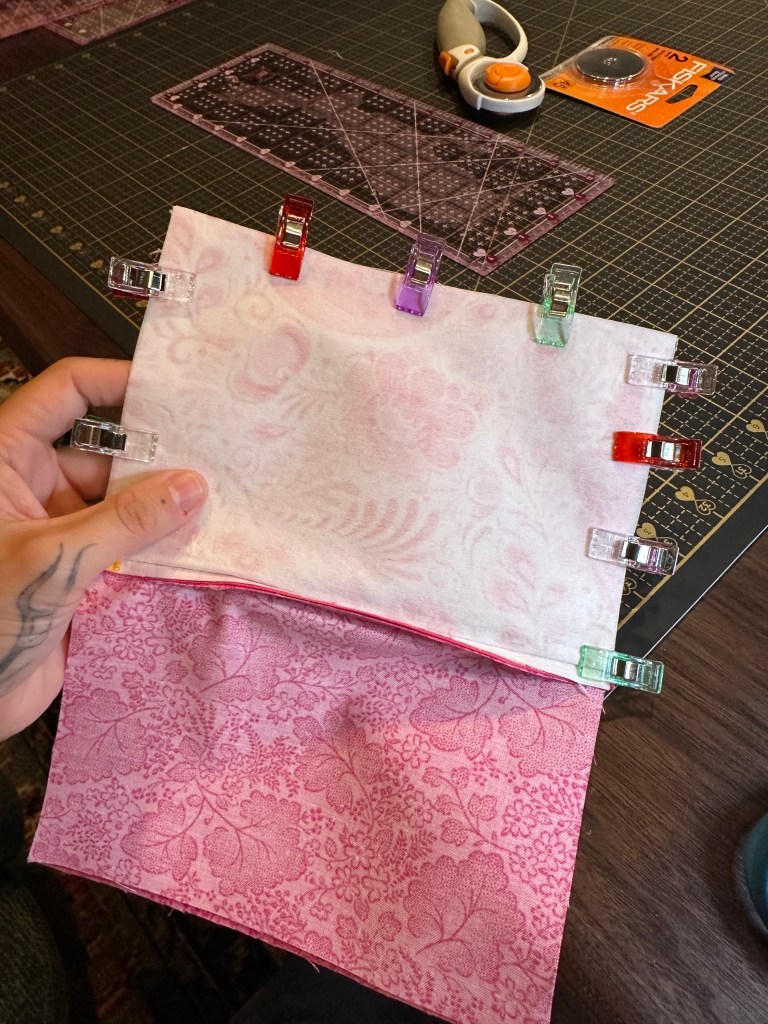
8. Pins, clips, and safety pins
You’ll use all of these at some point. I’m team clips for everyday projects (no holes in fabric!). Safety pins are great for big stuff like layering quilts together or pinning a long banner all at once. Pins work well too, especially when clips won’t hold in the right spot. Just make sure everything is secure before you start sewing — a well-pinned/clipped project makes things go WAY smoother.
Quilting Safety Pins Size 1 Size 2
9. All the thread!
Start simple with a light grey and a dark grey — they go with almost everything. Once you get into the groove, you’ll want a rainbow of colors. I eventually bought a few big thread sets with multiple colorways. And when you do start building your stash, look into a good thread organizer or wall mount.
My fav thread in a 10 spool set with multiple different color ways
My fav threat in a 5 spool set with multiple different color ways
My fav threat in a 1 spool set multiple different colors
Pegboard thread and bobbin holder
10. Extra bobbins
Trust me, you’ll want extras. I keep at least 10 going at once, pre-wound and ready to go. It’s way easier than having to unwind one just because you need a different color.
Bobbin for a brother machine
You should be able to find items that are coded for your machine
Bobbin holder ring I use for my empty bobbins (you could store full in here as well.)
or this bobbin tower that I have for my full bobbins (you could store emptys in here as well.)
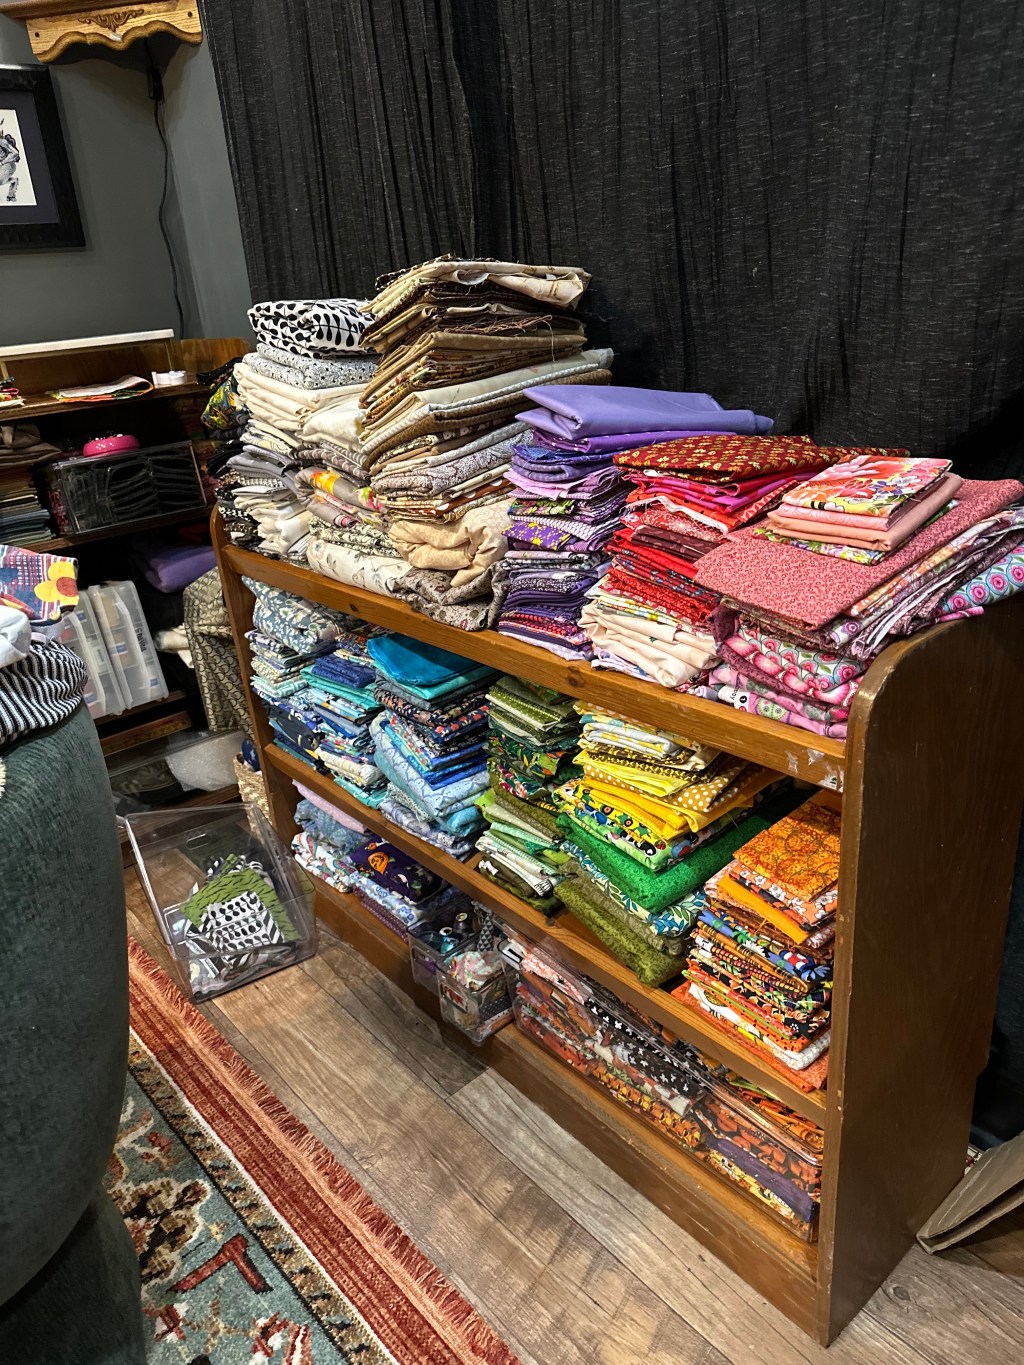
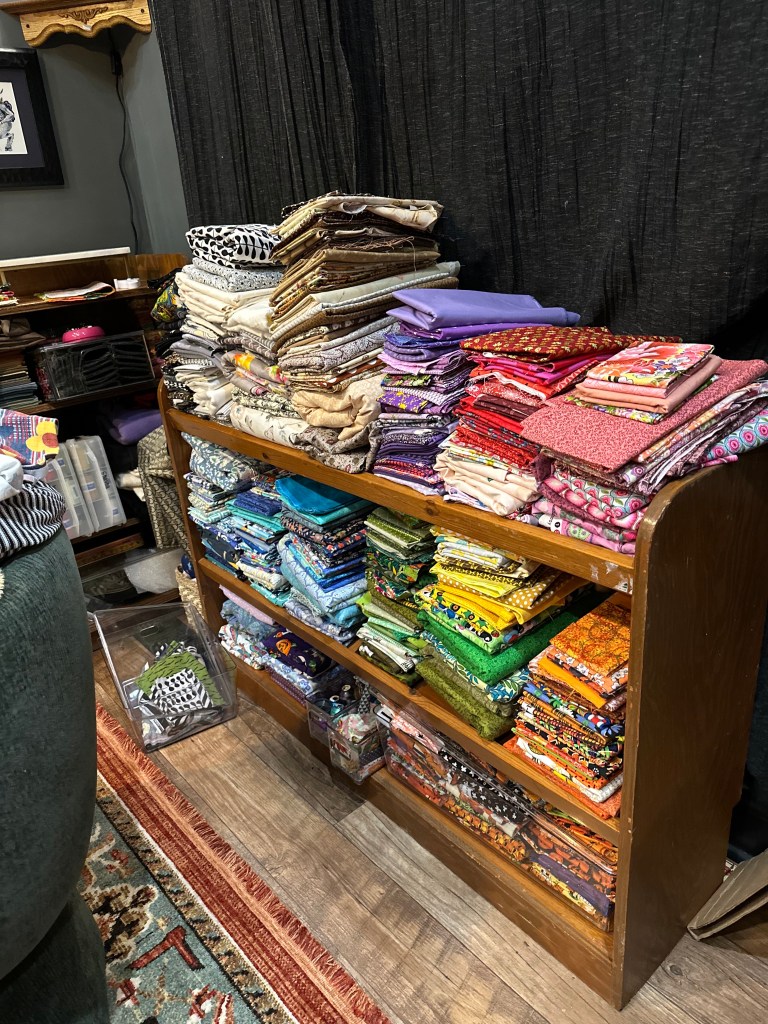
11. FABRIC! (aka the fun part)
Buy for specific projects, sure — but also… buy what you love. Say it with me: “It’s okay to buy fabric with no project in mind.”
As Gma would say:
If you like it, buy a yard.
If you love it, buy two.
If you have to have it, buy three.
If it’s on sale? Buy the whole bolt.
P.S. Hobby Lobby runs 40% off sales pretty often. Walmart usually has clearance bins. And always support your local fabric shop when you can.
P.S.S. Some of my favorite fabric makers/designers are fabelism, Tula Pink, Alexander Henry, and Rachel Hauer.
Online fabric stores I have ordered from a lot (see my previous, two posts ago, post for local to Columbia, SC cloth stores I love!)
https://www.etsy.com/shop/CaliQuiltCo
https://www.etsy.com/shop/HartlandQuiltShop
https://www.etsy.com/shop/janeymacshop
Bonus items that just make life easier:
- Seam ripper (you’ll use it more than you think and probably way more than you will ever want to, NO SHAME)
- Magnetic seam guide for when you want to be lazy or have perfect seam allowances or BOTH.
- Ruler handles or these handles (helpful when using cutting rulers to ensure they stay in place and they make repositioning easy)
- Magnetic pin “cushion”
- Backup rotary blades like these or these
- Heat-resistant ruler (especially handy for pressing seams and getting them to stay in place for sewing, you can clip as well for a second line of defense)
- Interfacing (if needed) this is a good all around interfacing you can add to your project for some more structure to your fabric
NOTE: Stabilizer and interfacing are different. Stabilizer is used to stabilize the fabric for tight stitching and is removed afterward. Interfacing is used to add structure to the fabric and is generally not removed(permanent).
- Bias tape makers (great for custom bias tape when you don’t want to run to the store or you want a specific pattern or color the store doesn’t have)
- Fabric pusher
Final tips:
- Frustrated? Walk away. Seriously. Take a break — for an hour, a day, even a month. Coming back with a fresh mind makes all the difference.
- Precision matters. Sewing is more like baking than cooking — following the “recipe” and getting clean cuts and precise stitches will save you from fixing your own mistakes later.
- Read your pattern first. All the way through. I’ve forgotten elastic, interfacing, or the right thread too many times and had to pause mid-project to run to the store or do a last-minute Amazon order. Don’t be me 😂
That’s it! Hopefully this helps you feel a little less overwhelmed and a lot more excited to start sewing. Got questions? Let me know in the comments or hit me up on IG @blklavalamp — I’m always happy to talk about sewing, fabric, and good tools!

Leave a comment